

Firmware Update over the air via LoRa
In today’s rapidly evolving technological landscape, it’s critical that devices stay up to date with the latest firmware and software updates. This is especially true for devices that are part of the Internet of Things (IoT), where large numbers of devices may be deployed in remote or hard-to-reach locations. LoRa and LoRaWAN technologies provide an ideal solution for this problem by allowing devices to be updated over the air, without the need for physical access. This makes it much easier and more cost-effective to keep devices up to date, improving their reliability, security, and performance. As more and more devices are connected to the internet, the ability to update them remotely will become increasingly important, making LoRa and LoRaWAN technologies essential for the IoT ecosystem.
This is the reason why I created a way for LoRa devices to be updates via a p2p connection. This software is far from mainstream ready but it gives you a quick glance about what could be achieved with such a system.
About the idea
Section titled “About the idea”The idea of updated LoRa or LoRaWAN devices over the LoRa network was part of my bachelors thesis and therefore I worked on it.
Requirements
Section titled “Requirements”What you need in this tutorial
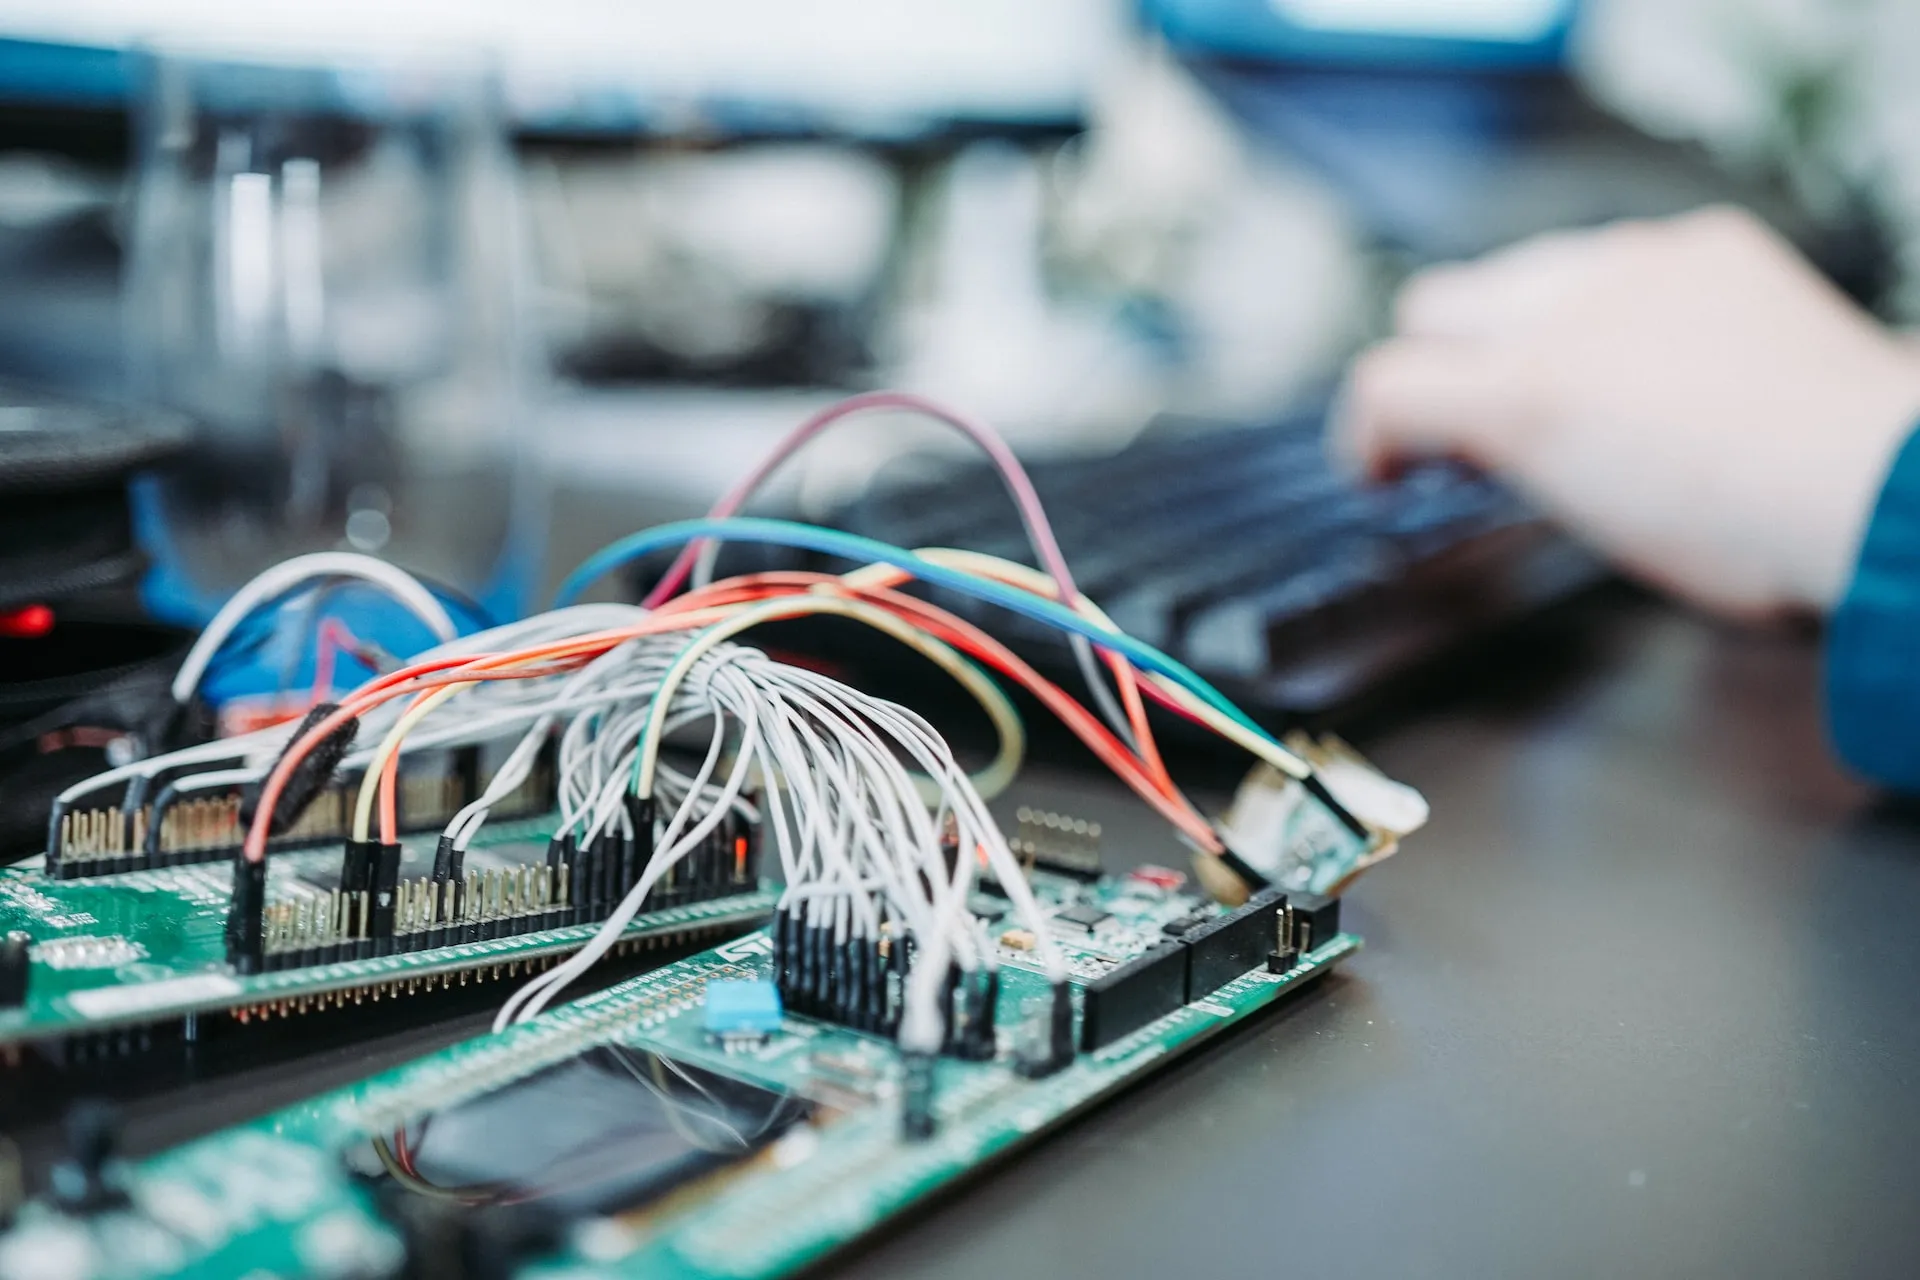
- 2x Heltec ESP32 V2 –> Buy on Amazon
- Arduino IDE V1.8.18 or lower –> Download
- SPIFFS Filesystem Plugin for Arudino IDE –> Tutorial
- Files for the Boards –> Download
This whole project can be found on GitHub
First Steps
Section titled “First Steps”You need to install the Arudino IDE V1.8.18 or lower, above you can find a tutorial link.
To work correctly with the Heltec ESP32 V2 Board you need to install an additional board manager. You can find a tutorial about this here.
After that you need to install more Libaryies for your IDE to work correctly with the ESP32 code that I provide. You can find a tutorial about that here.
You need to install the Heltec ESP32 Dev.Boards libary and the LoRa libary by Sandeep Mistry.
Upload files
Section titled “Upload files”Presumed you also install the SPIFFS Filesystem Plugin we can finally start with the upload of all the files. At the requirements section you find the download link to all the files. This will forward you to my GitHub page. Download the firmware.bin, newreceiver.ino and newtransmitter.ino.
Connect the first ESP that you want to use as your transmitter and upload the newtransmitter.ino onto it.
If you don’t know how to connect your esp32 correctly here is a tutorial for you.
Press on Upload and wait until it’s done.
After that you can follow the steps provided in the SPIFFS Filesystem Tutorial to put the firmware.bin file in the correct folder.
Assuming you got the file in there we can start with uploading the file to the SPIFFS System of the ESP32.
Go to Tools –> ESP32 Sketch Data Upload
Section titled “Go to Tools –> ESP32 Sketch Data Upload”
In your Terminal you will see that it takes a while for the file to be uploaded to the ESP32.
After that you can unplug the board and take the second one we want to use as a receiver.
Connect the second ESP and check if the right COM Port has been selected otherwise change it so you communicate with the right board.
Open the newreceiver.ino and upload this to the board.
Using the Software
Section titled “Using the Software”To use the uploaded software correctly we need to plug in both devices.
Both ESP will boot into no specific mode but you can change the mode by pressing the PRG button. The Reciever just performs a simple blink functionallity so that we can image this device would be doing something like measuring a temperature or somthing else. It’s just a placeholder for a real function that should be performed.
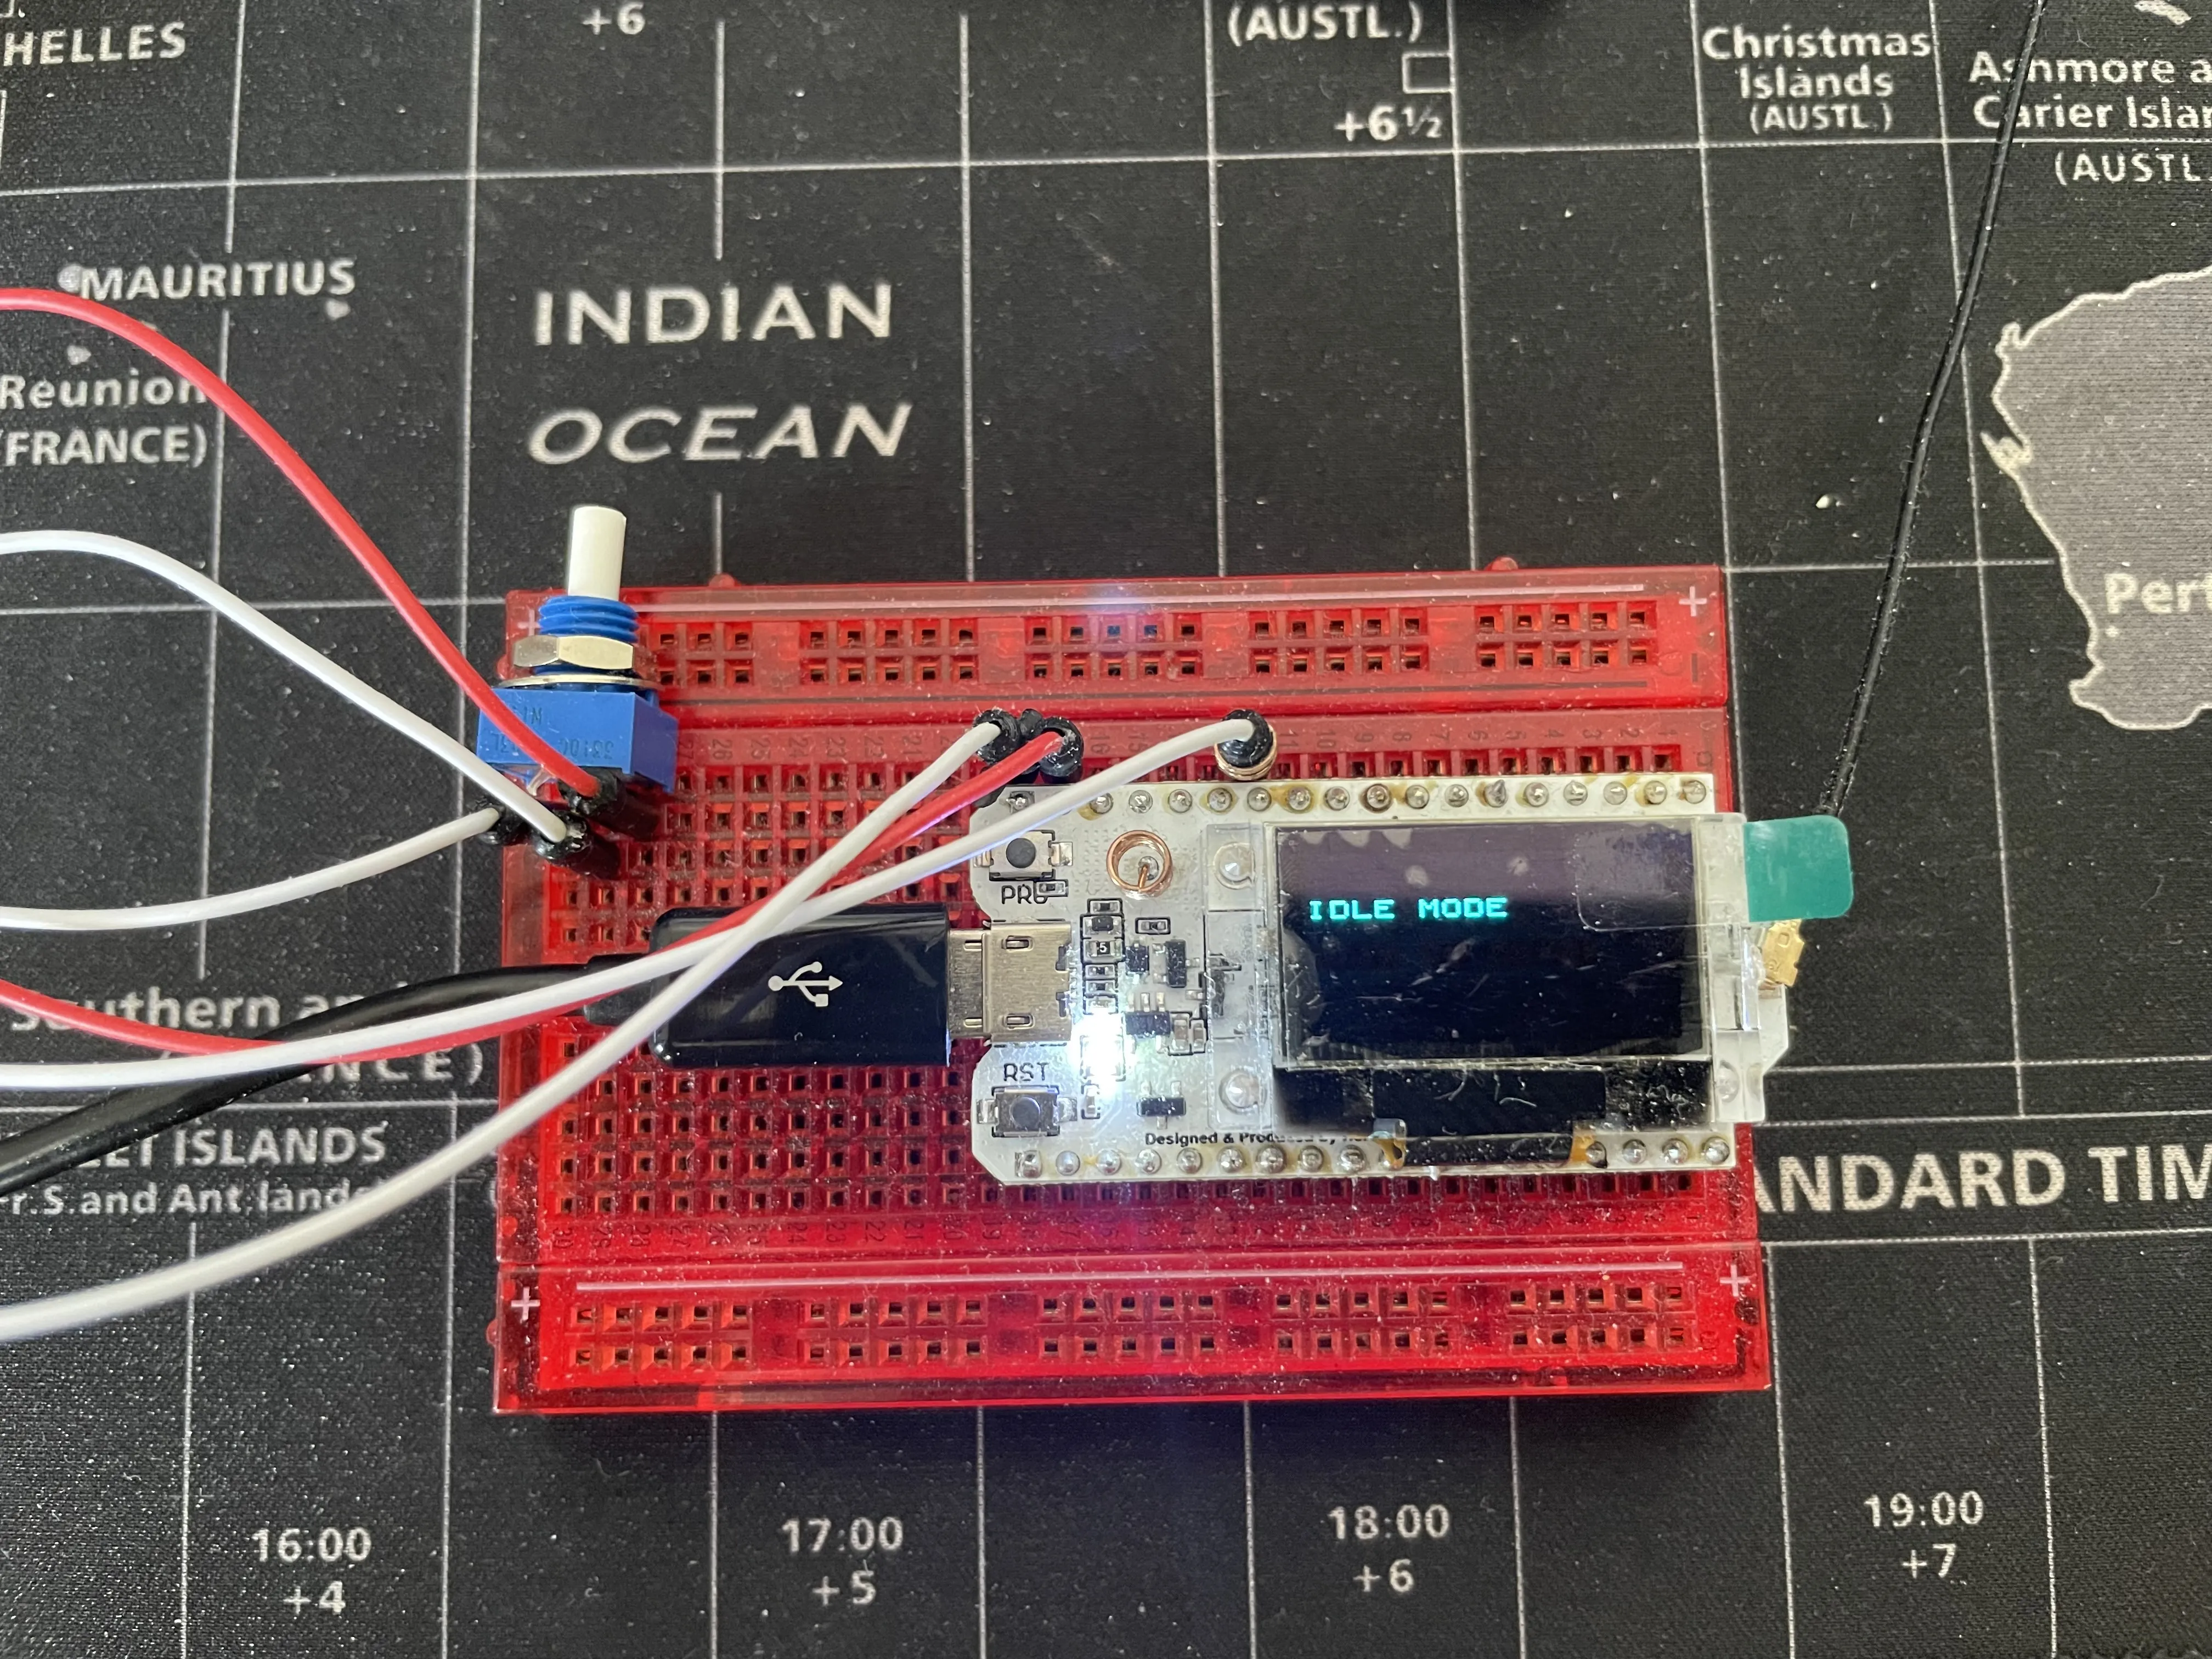
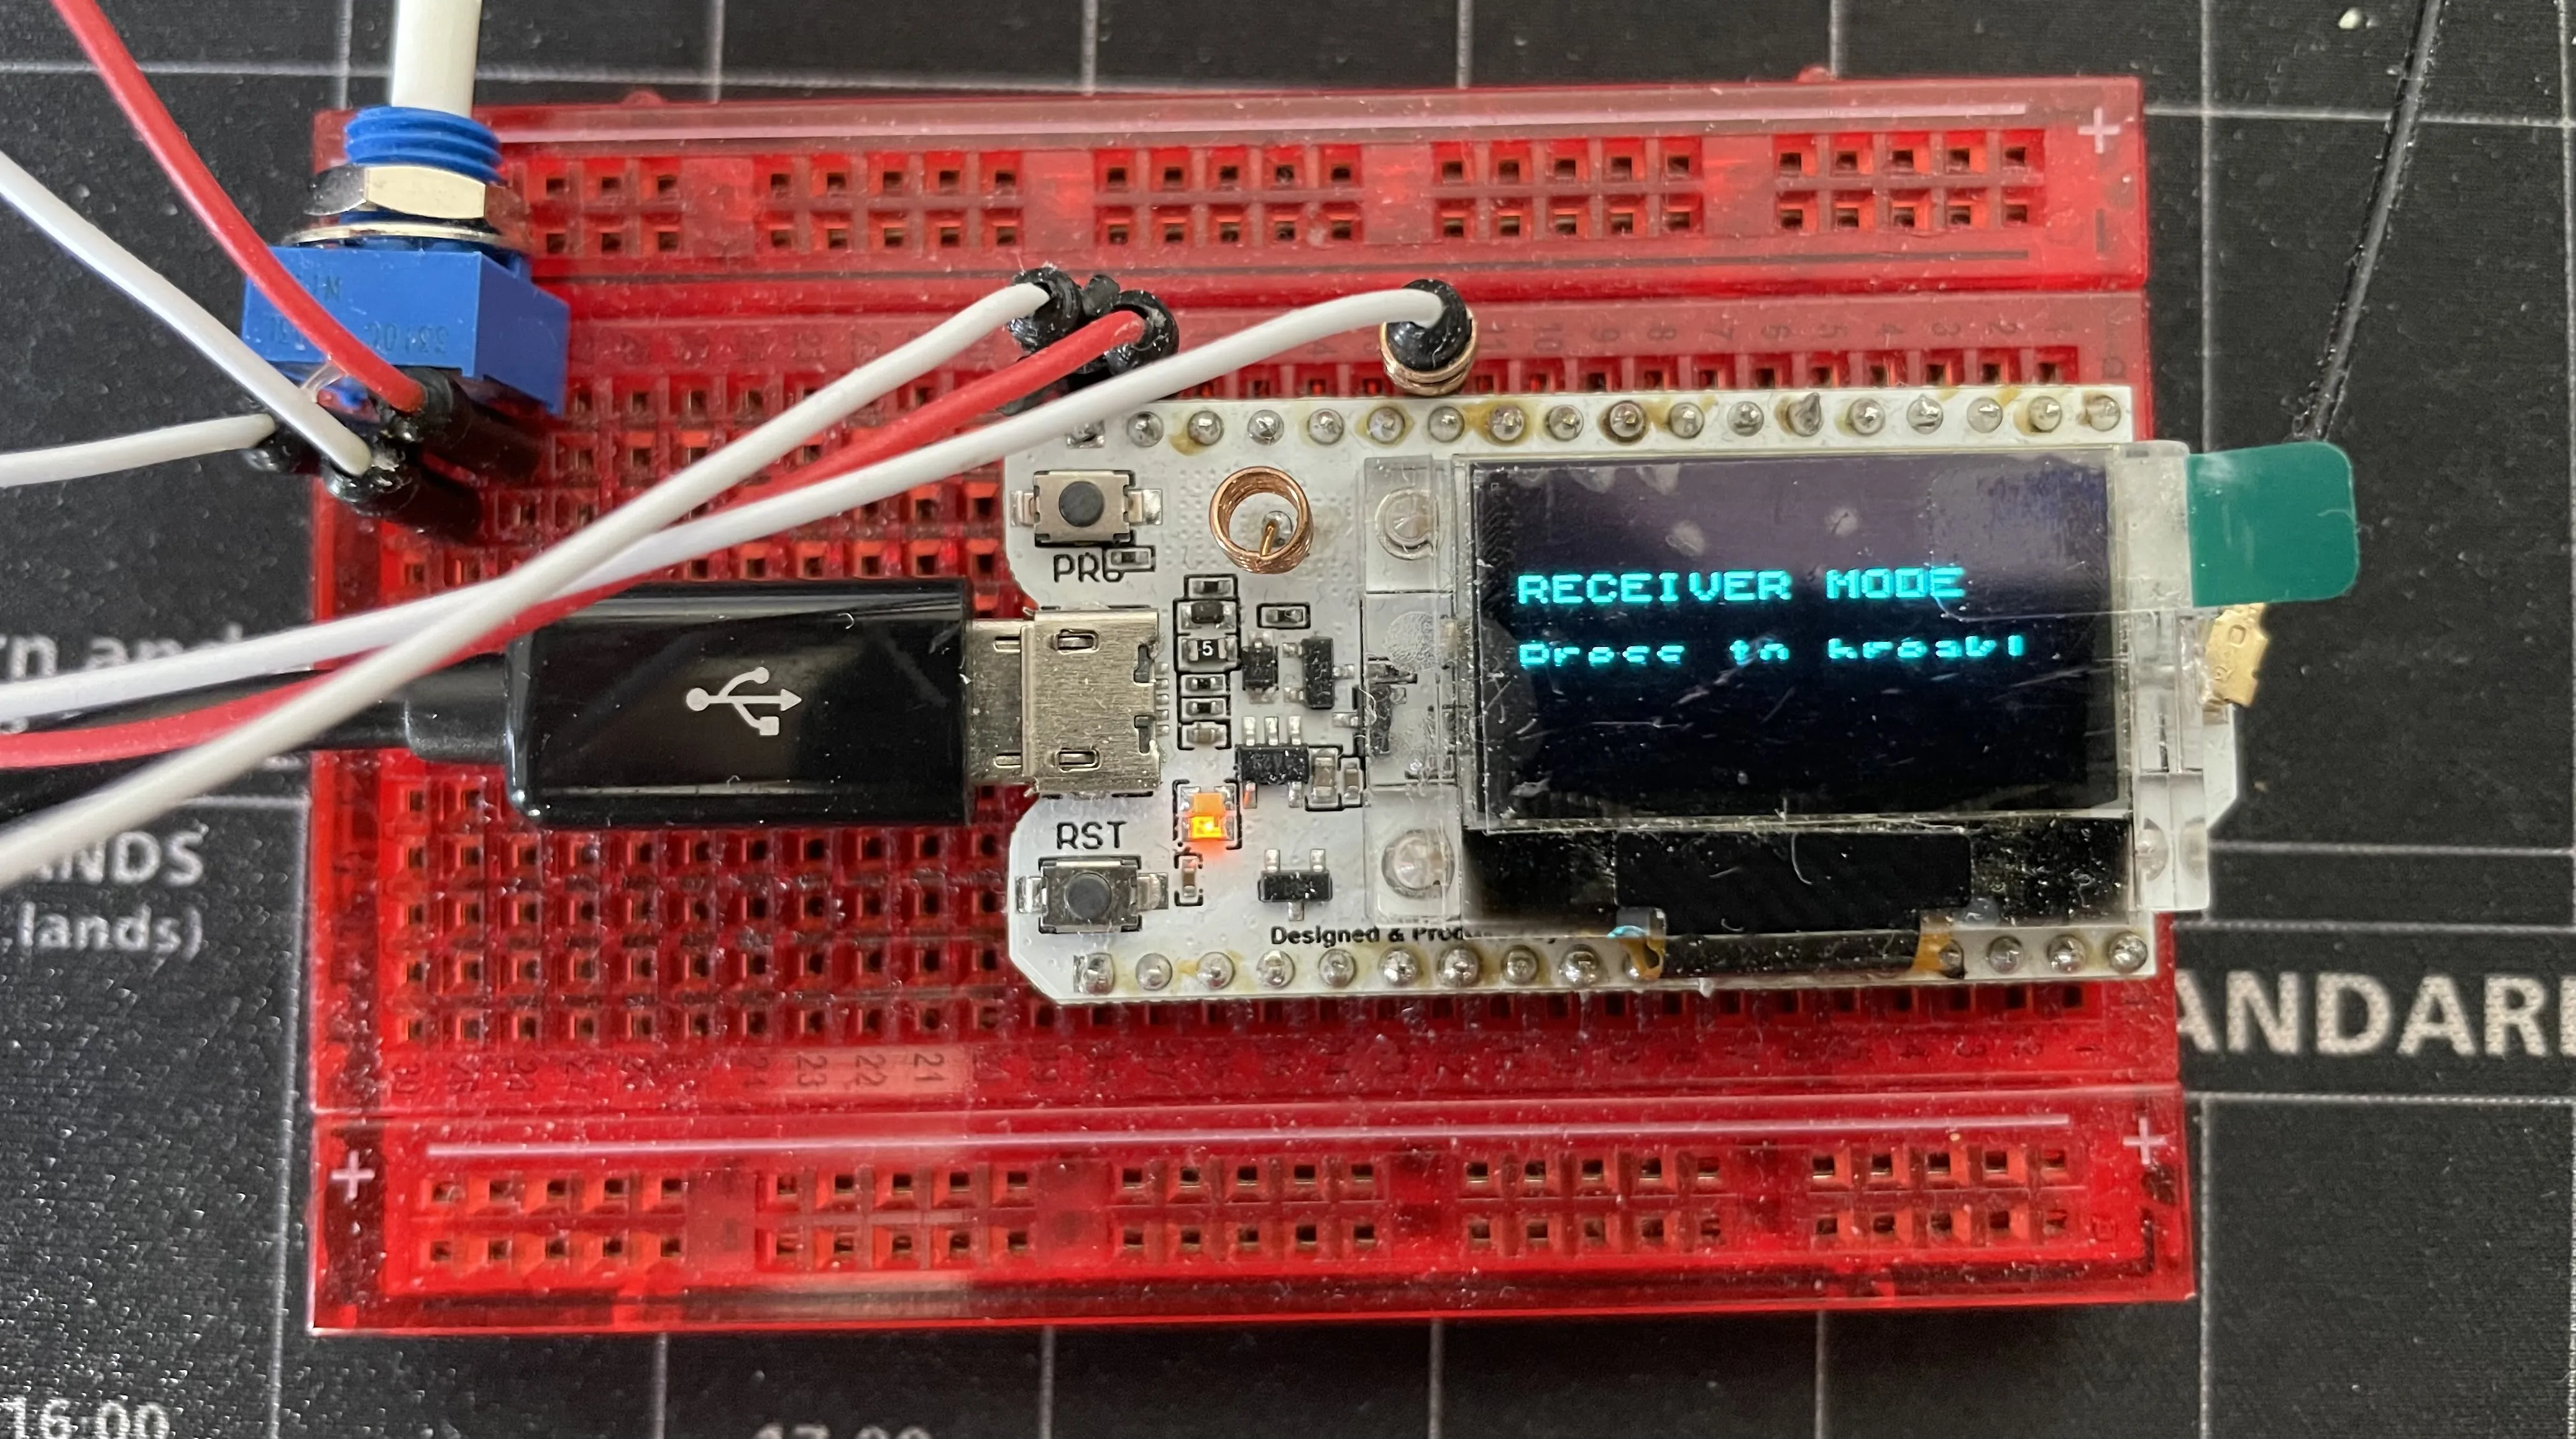
The receiver ESP will not listen to possible incomming updates. You need to press the PRG button once on the board to switch to the Receiver Mode. It could be that your timing of pressing this button is not correct. So press and hold the PRG button aslong as you switch into the RECEIVER MODE but immediatly let go the button if the state switched. I hold and press the button until the light goes off. This always worked for me so I switched into the next mode.
The transmitter ESP will do nothing unless you press the PRG button once. Now you will switch into a Transmitter Mode and start immediatly with transmitting the update file.

Now you can relax and wait until the transmitter sends the whole file to the reciever. On the transmitter device you can see what packet is currently been send and how many it will need in total to transmitt the software.
After the transfer is complete you can press once more the PRG button on the receiver ESP to switch it into the UPDATE MODE.
Update Mode
Section titled “Update Mode”In this mode the receiver ESP will automatically view and check the received file. If everything is fine it starts with the update process, install the new software and reboot.
In my current setup I programmed the new software to read an analog potentiometer and display the value onto the build in display of the ESP. You can change this to your personal wishes.